Combat Robot Archetypes
Difficulty: Beginner • Intermediate • Advanced • Expert
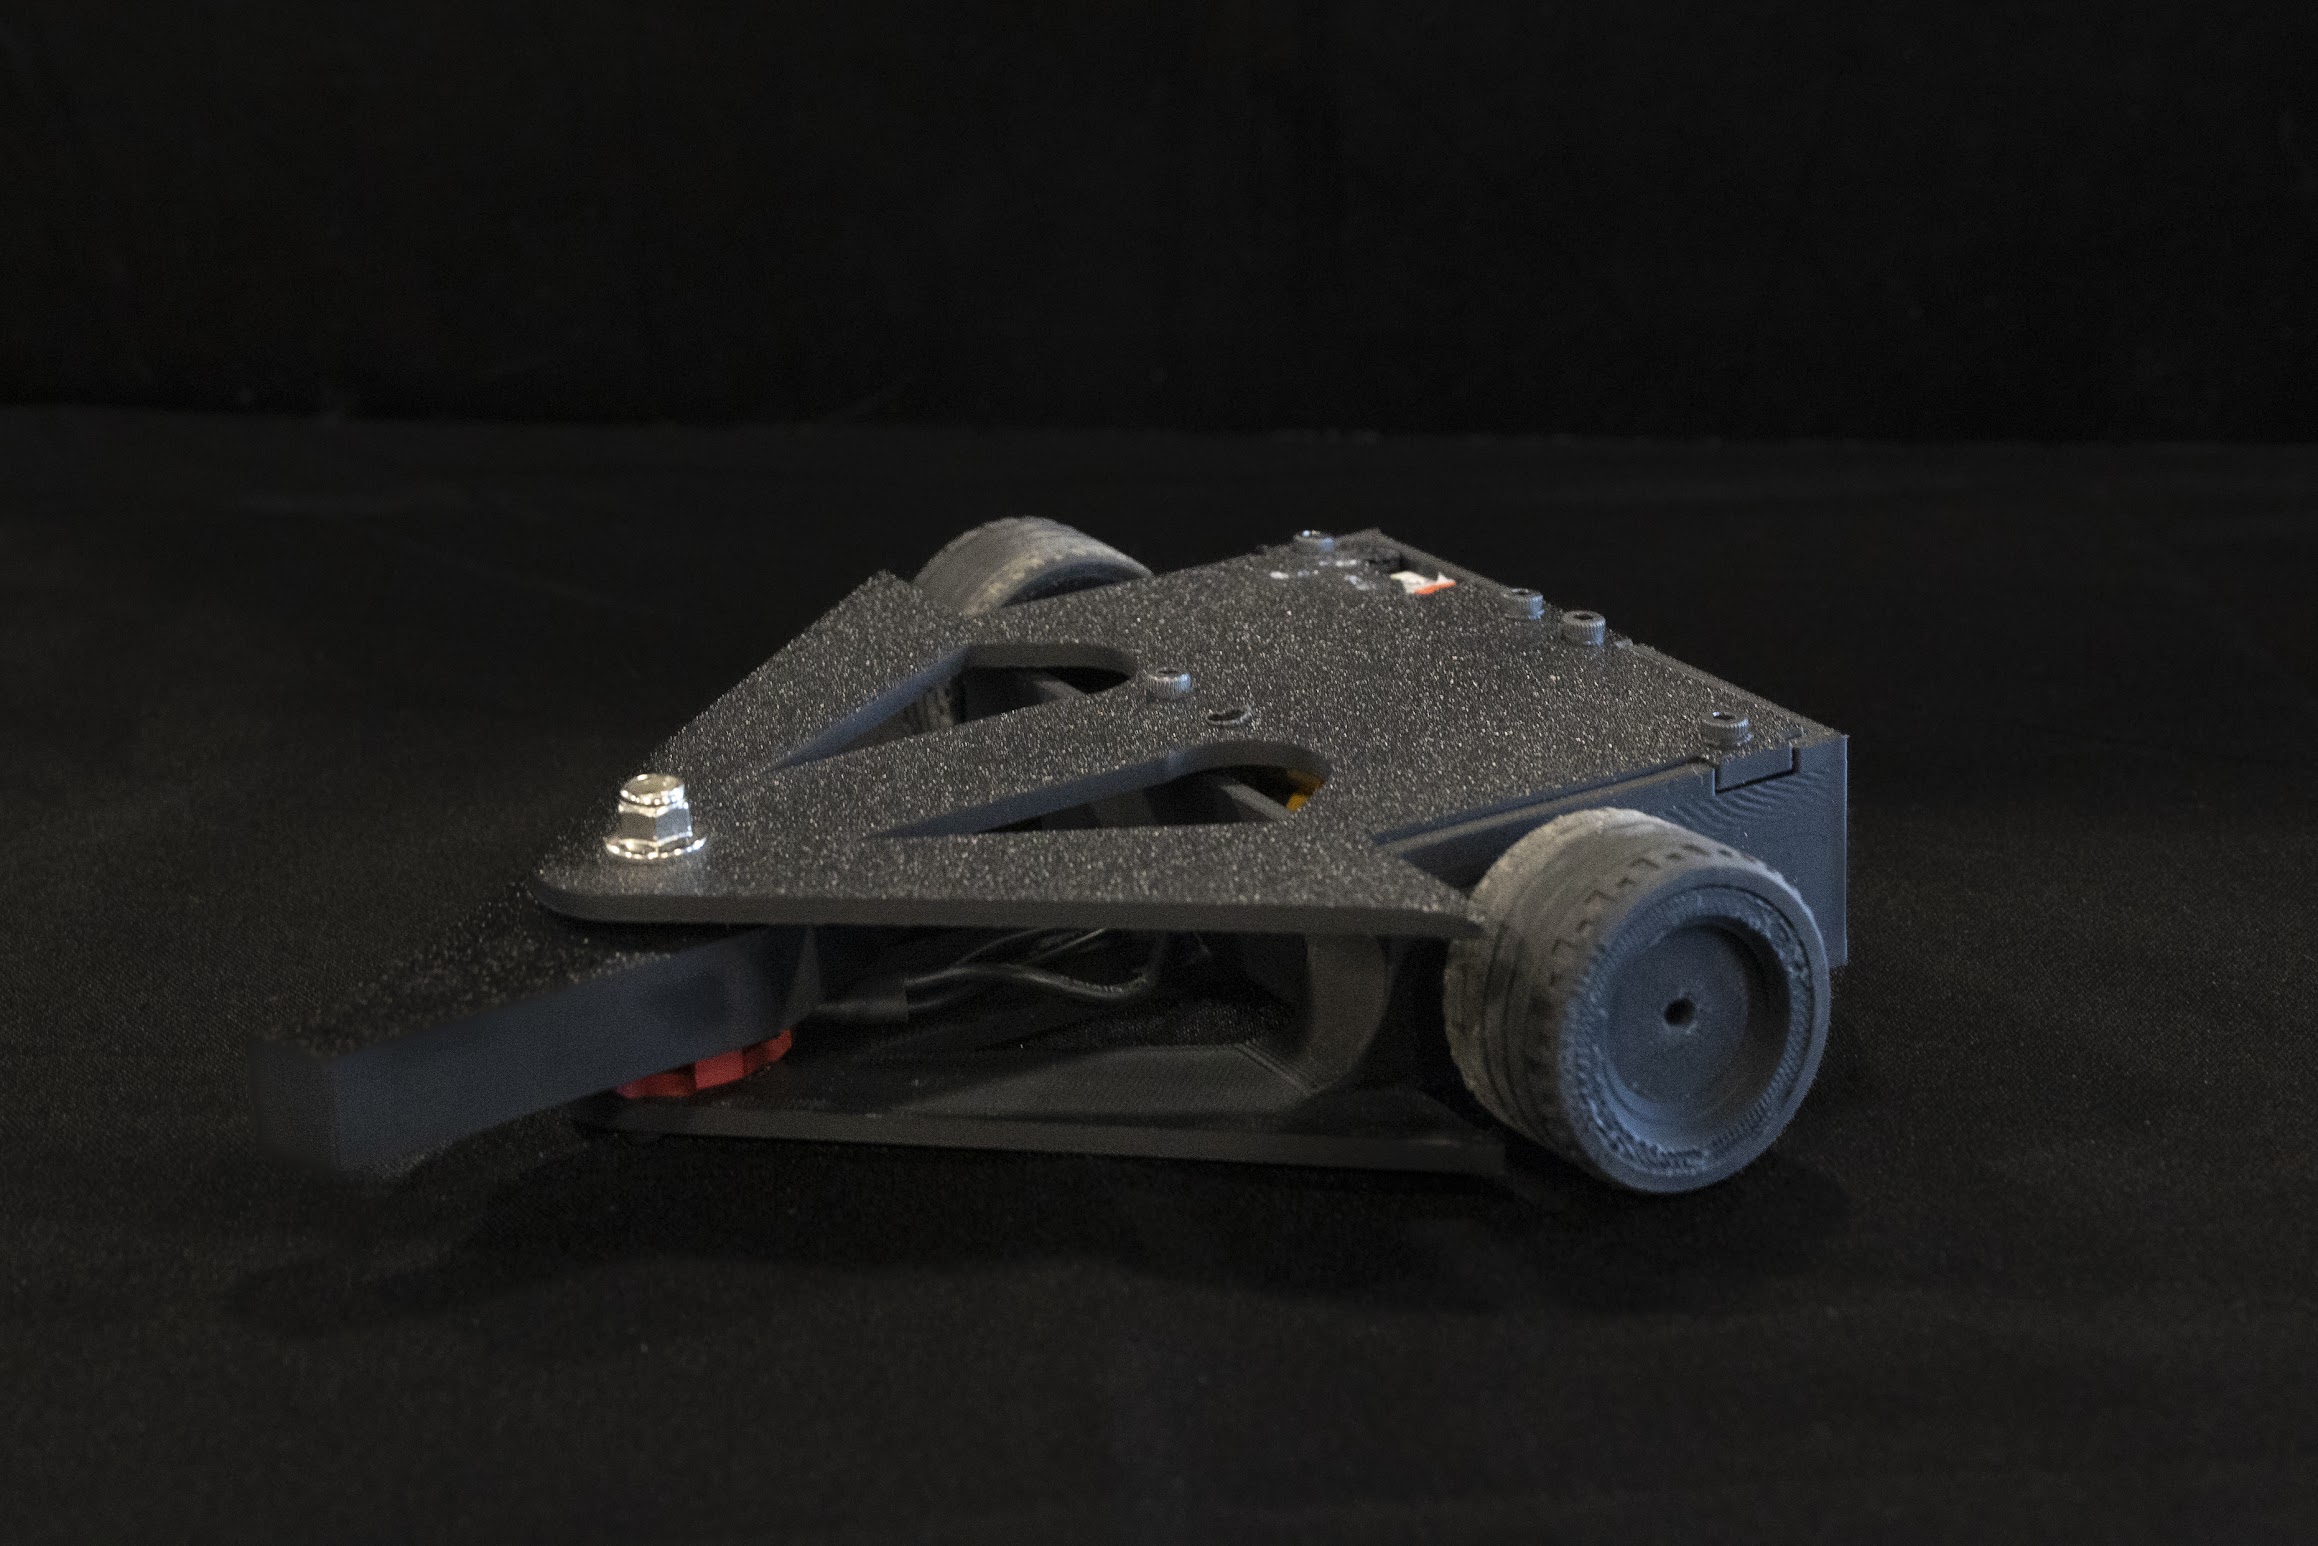
Vertical Spinner
BEGINNERSimple vertical spinner using a disc or a straight bar to flip and damage opponents.
- Proven, straightforward design
- Easy to drive and control
- Good upward bite and toss
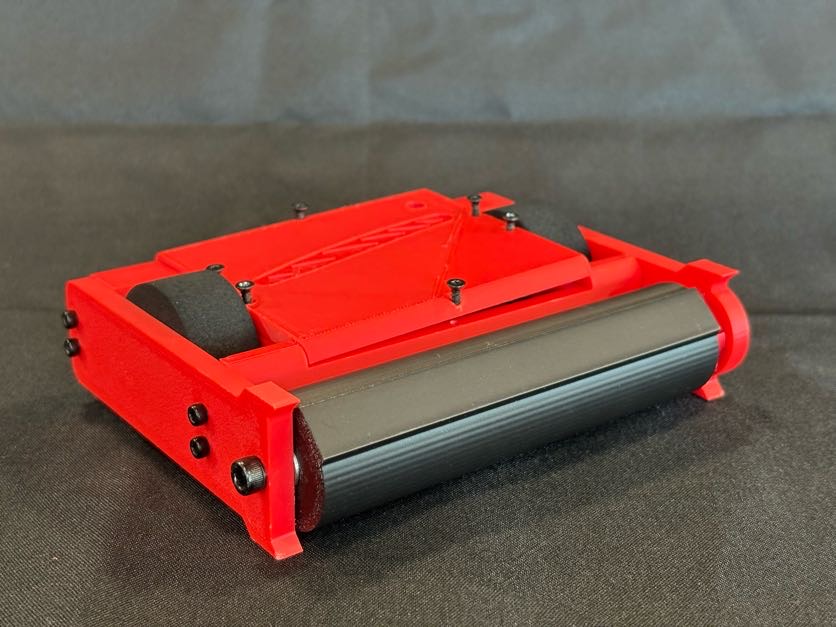
Drum Spinner (Vertical)
INTERMEDIATEA rotating drum with teeth that chews into opponents and launches them upward. Common in 3lbs and heavier.
- More damage per hit
- Compact and efficient
- Great sustained pressure
Beater (Vertical)
ADVANCEDA lightweight vertical bar spinning at very high speed for massive single-point hits.
- Very energy-dense
- Precise balancing needed
- Challenging mounting
Undercutter
INTERMEDIATELow-mounted horizontal spinner aimed at wheels and undersides.
- Targets "Ground Game" and wheels
- Very low profile
- Difficult to reach
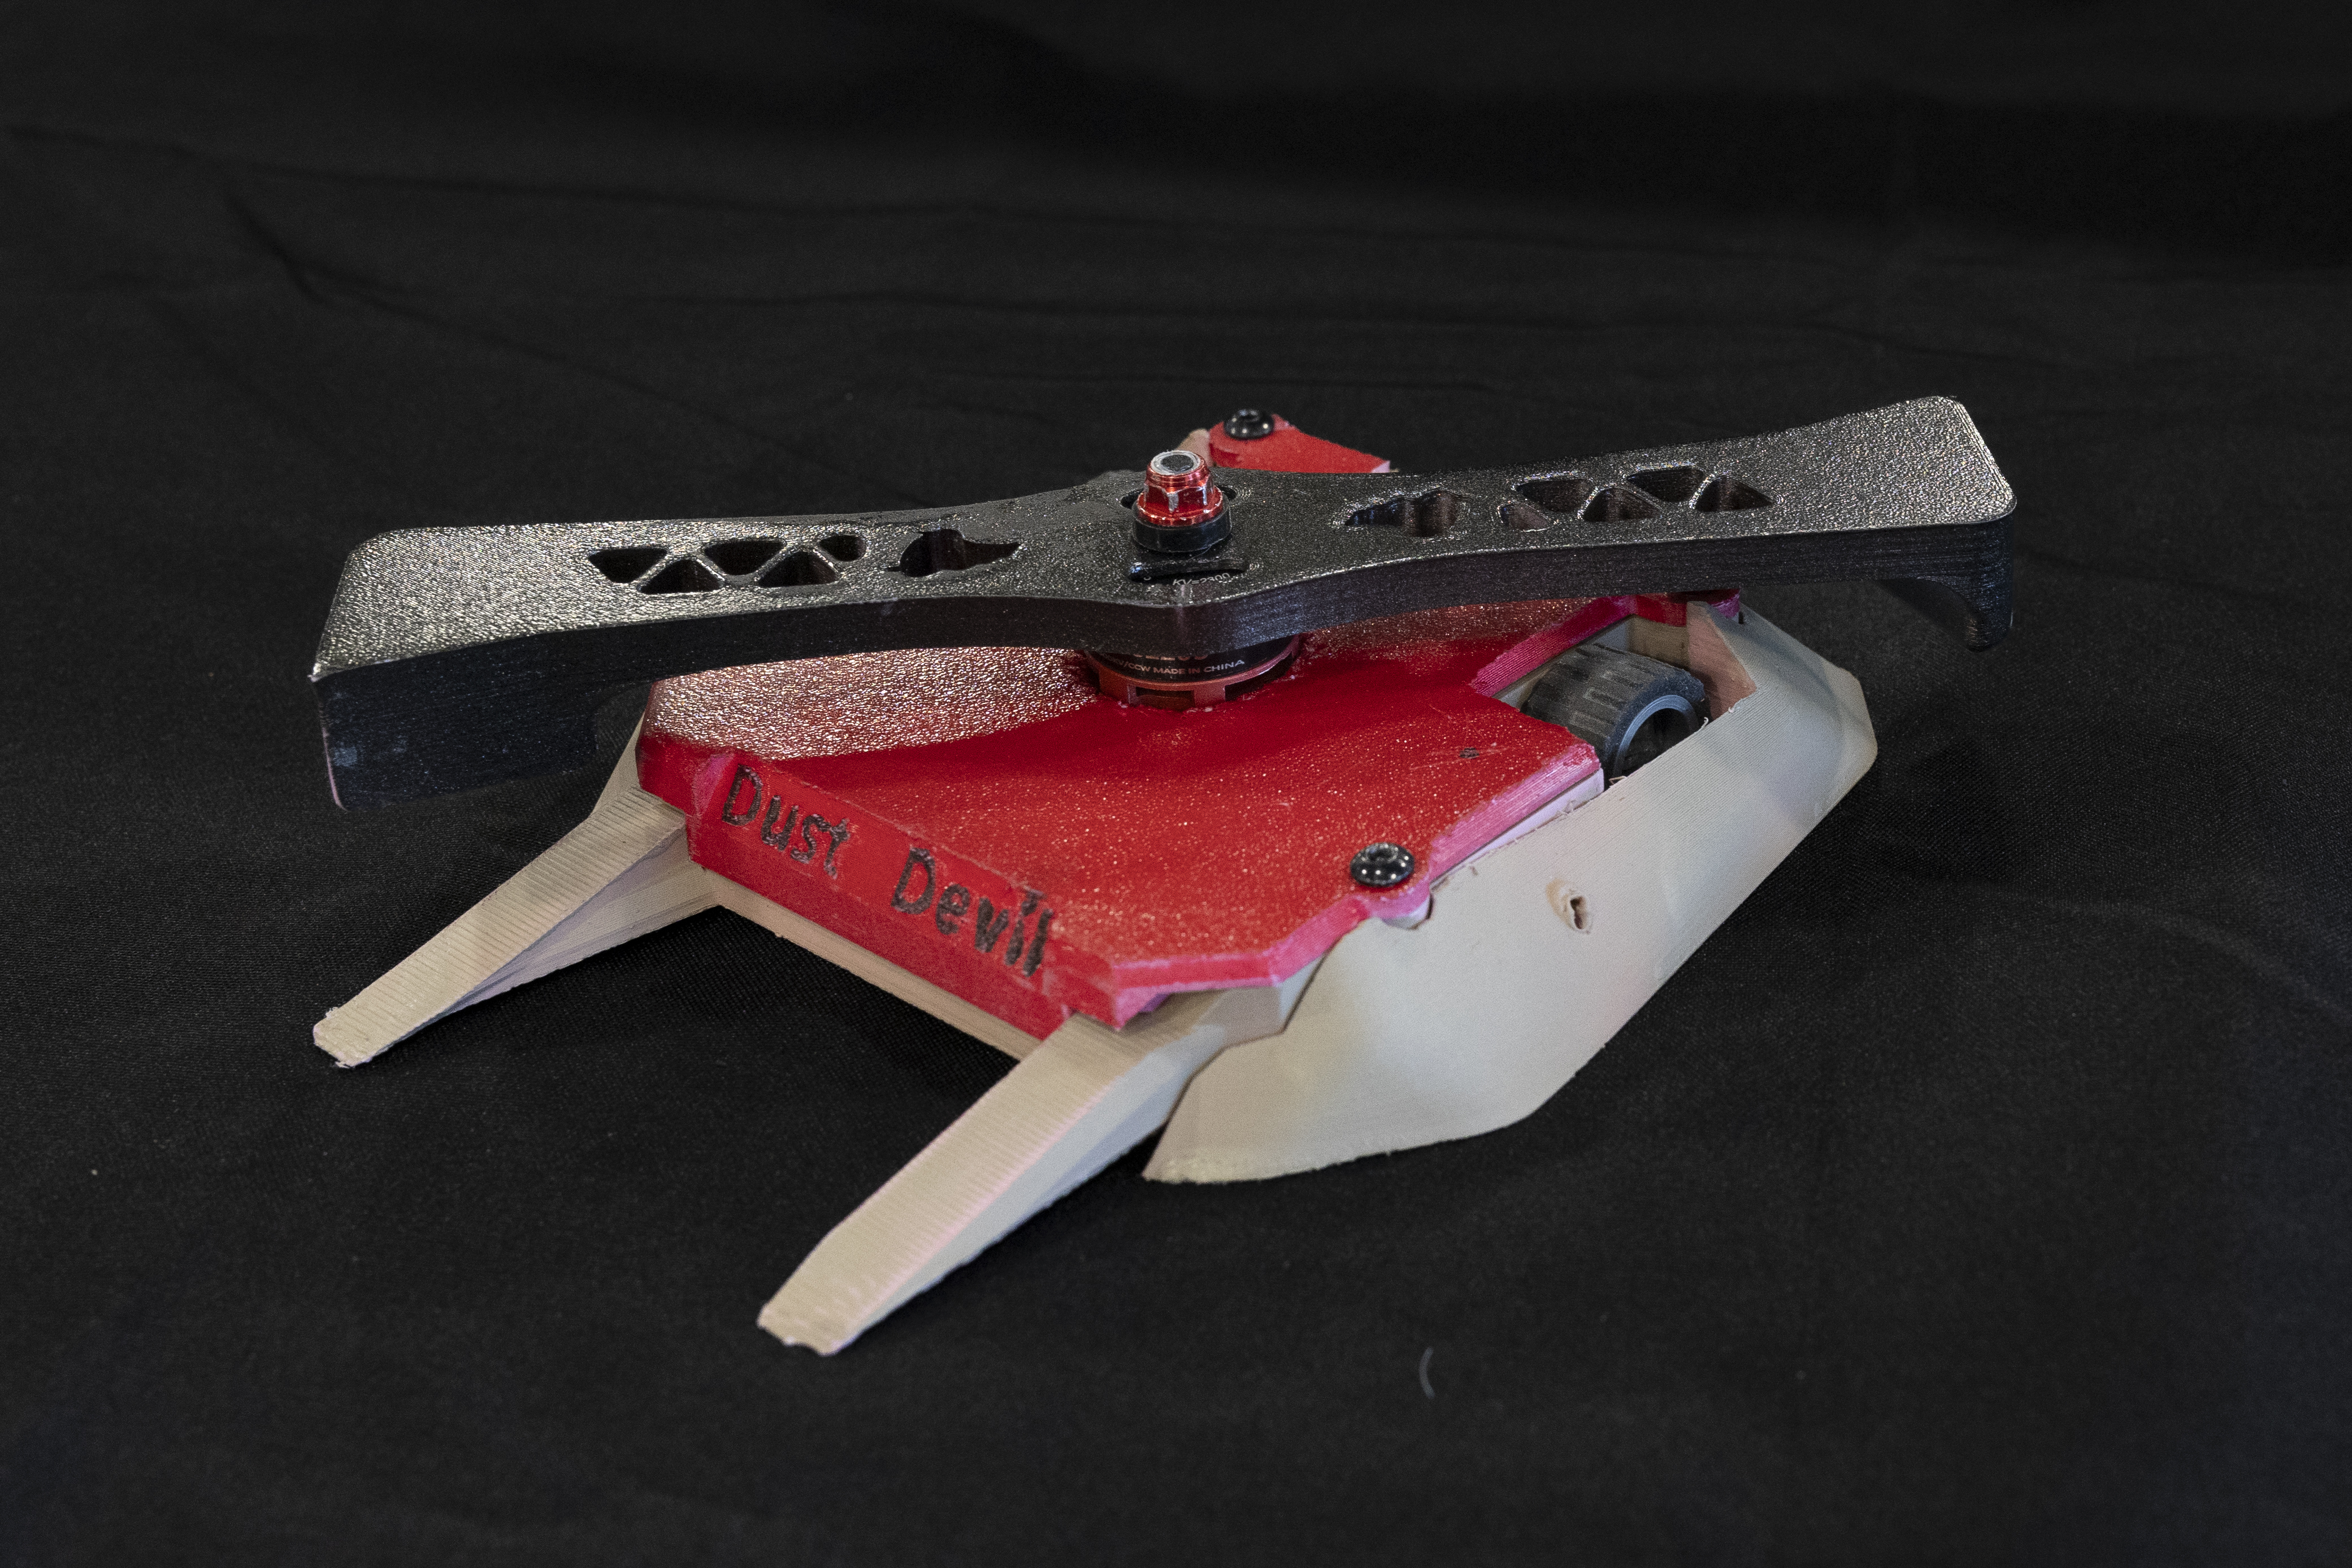
Horizontal Spinner
ADVANCEDA horizontal spinner for hard hitting, chaotic attacks.
- Easy to learn, hard to master
- Devastating Energy
- KO Potential
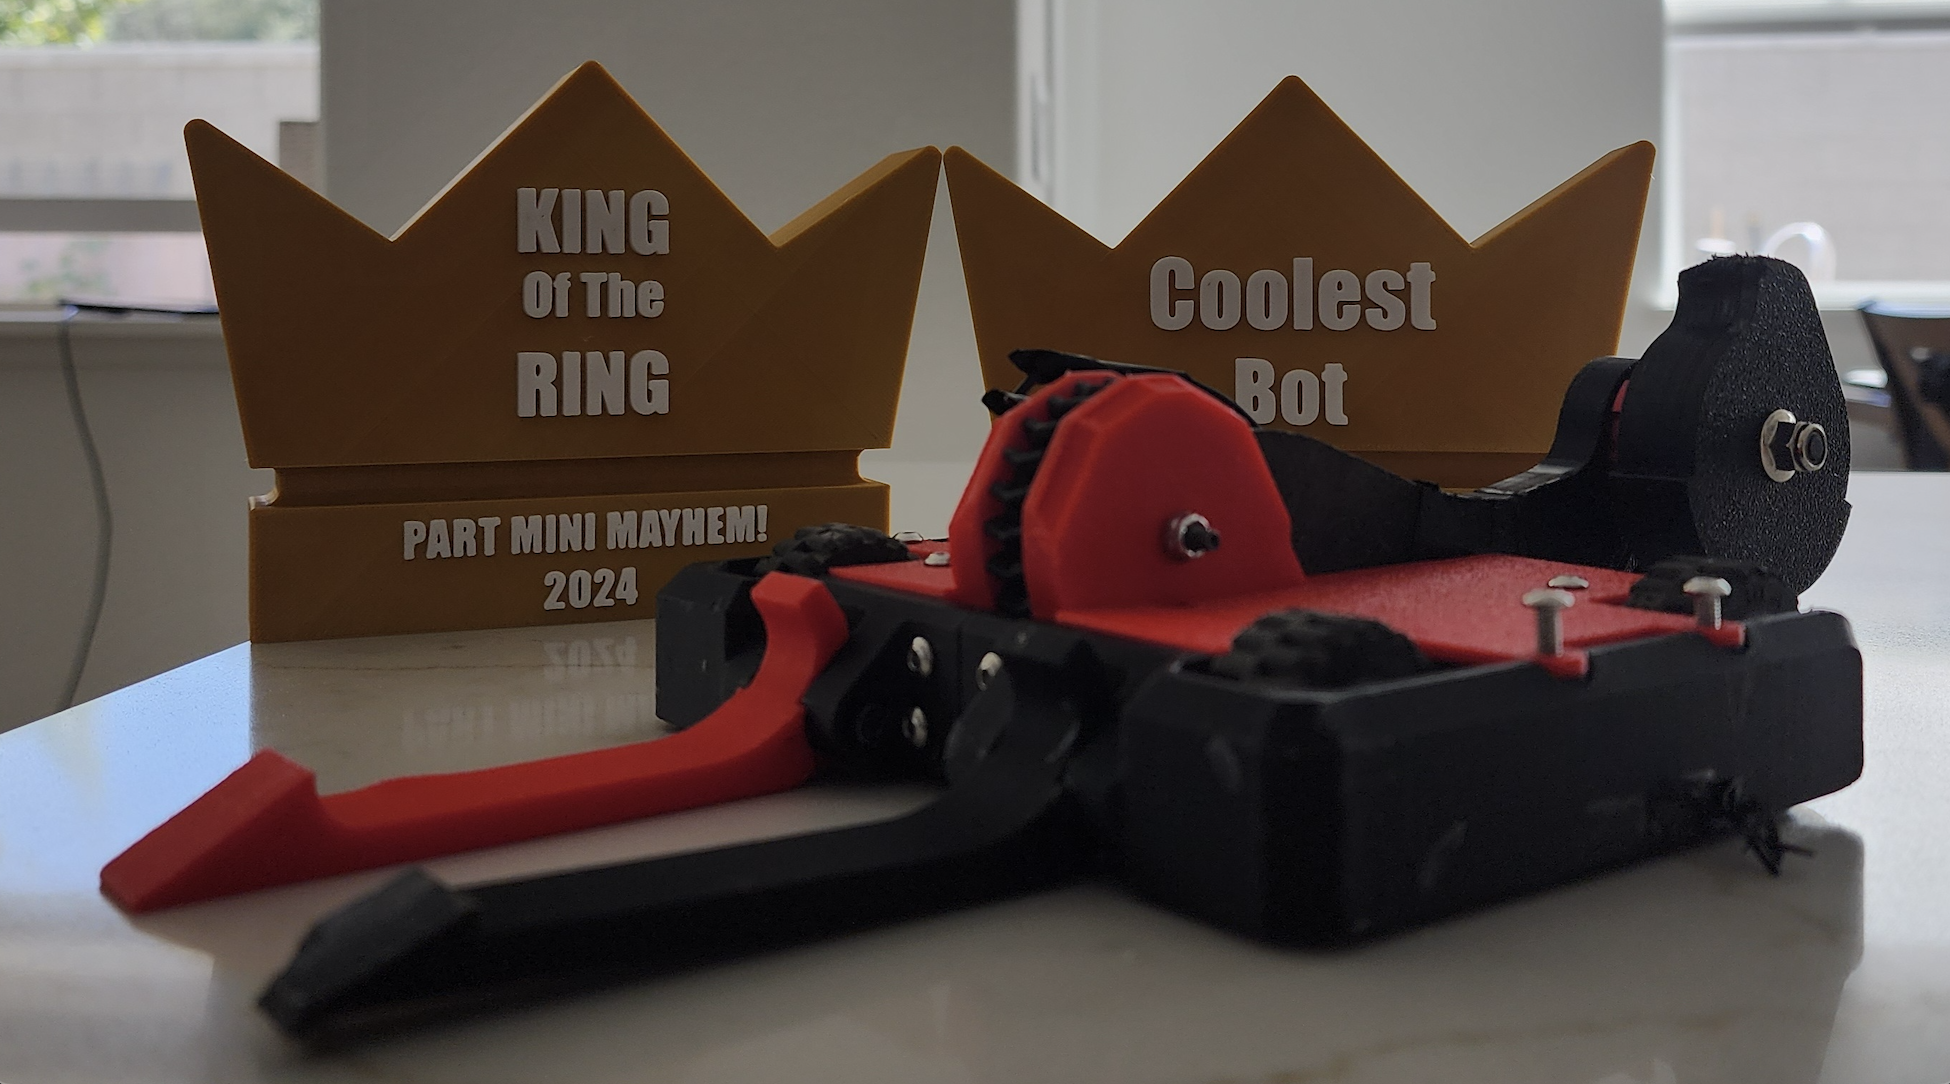
Meme Bot / Fun Bot
EXPERTA fun bot that wins the crowd
- Explore unique and impractical designs
- Follow an intricate theme
- Have Fun!
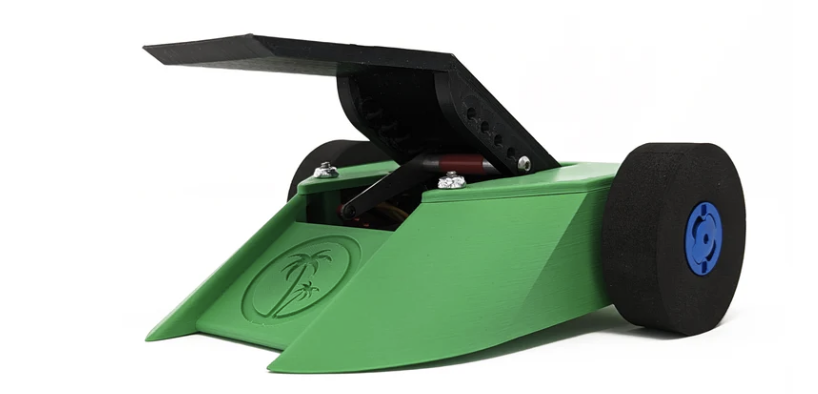
Overhead Spinner
ADVANCEDA horizontal weapon mounted above the chassis to strike top armor in a downward arc.
- Targets top panels
- Less floor interaction
- Pairs well "Ground Game"
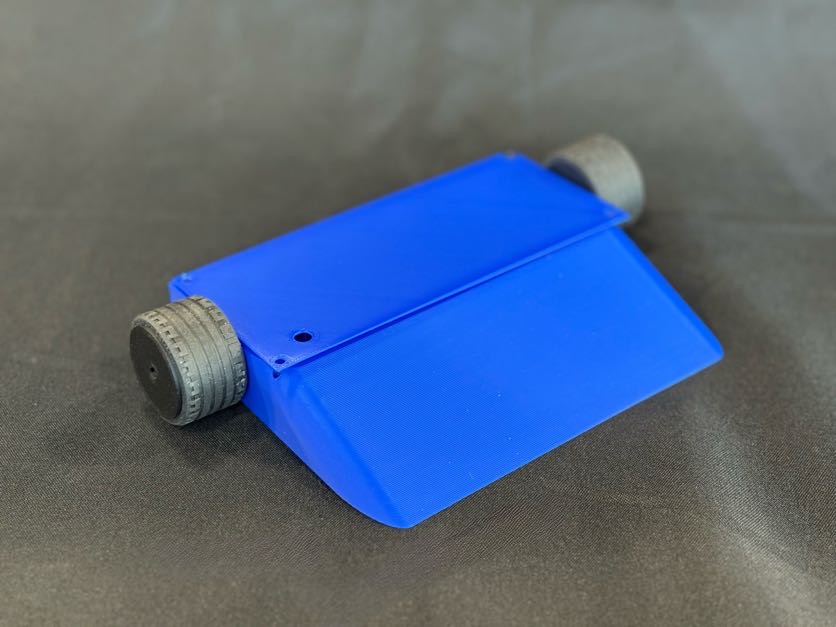
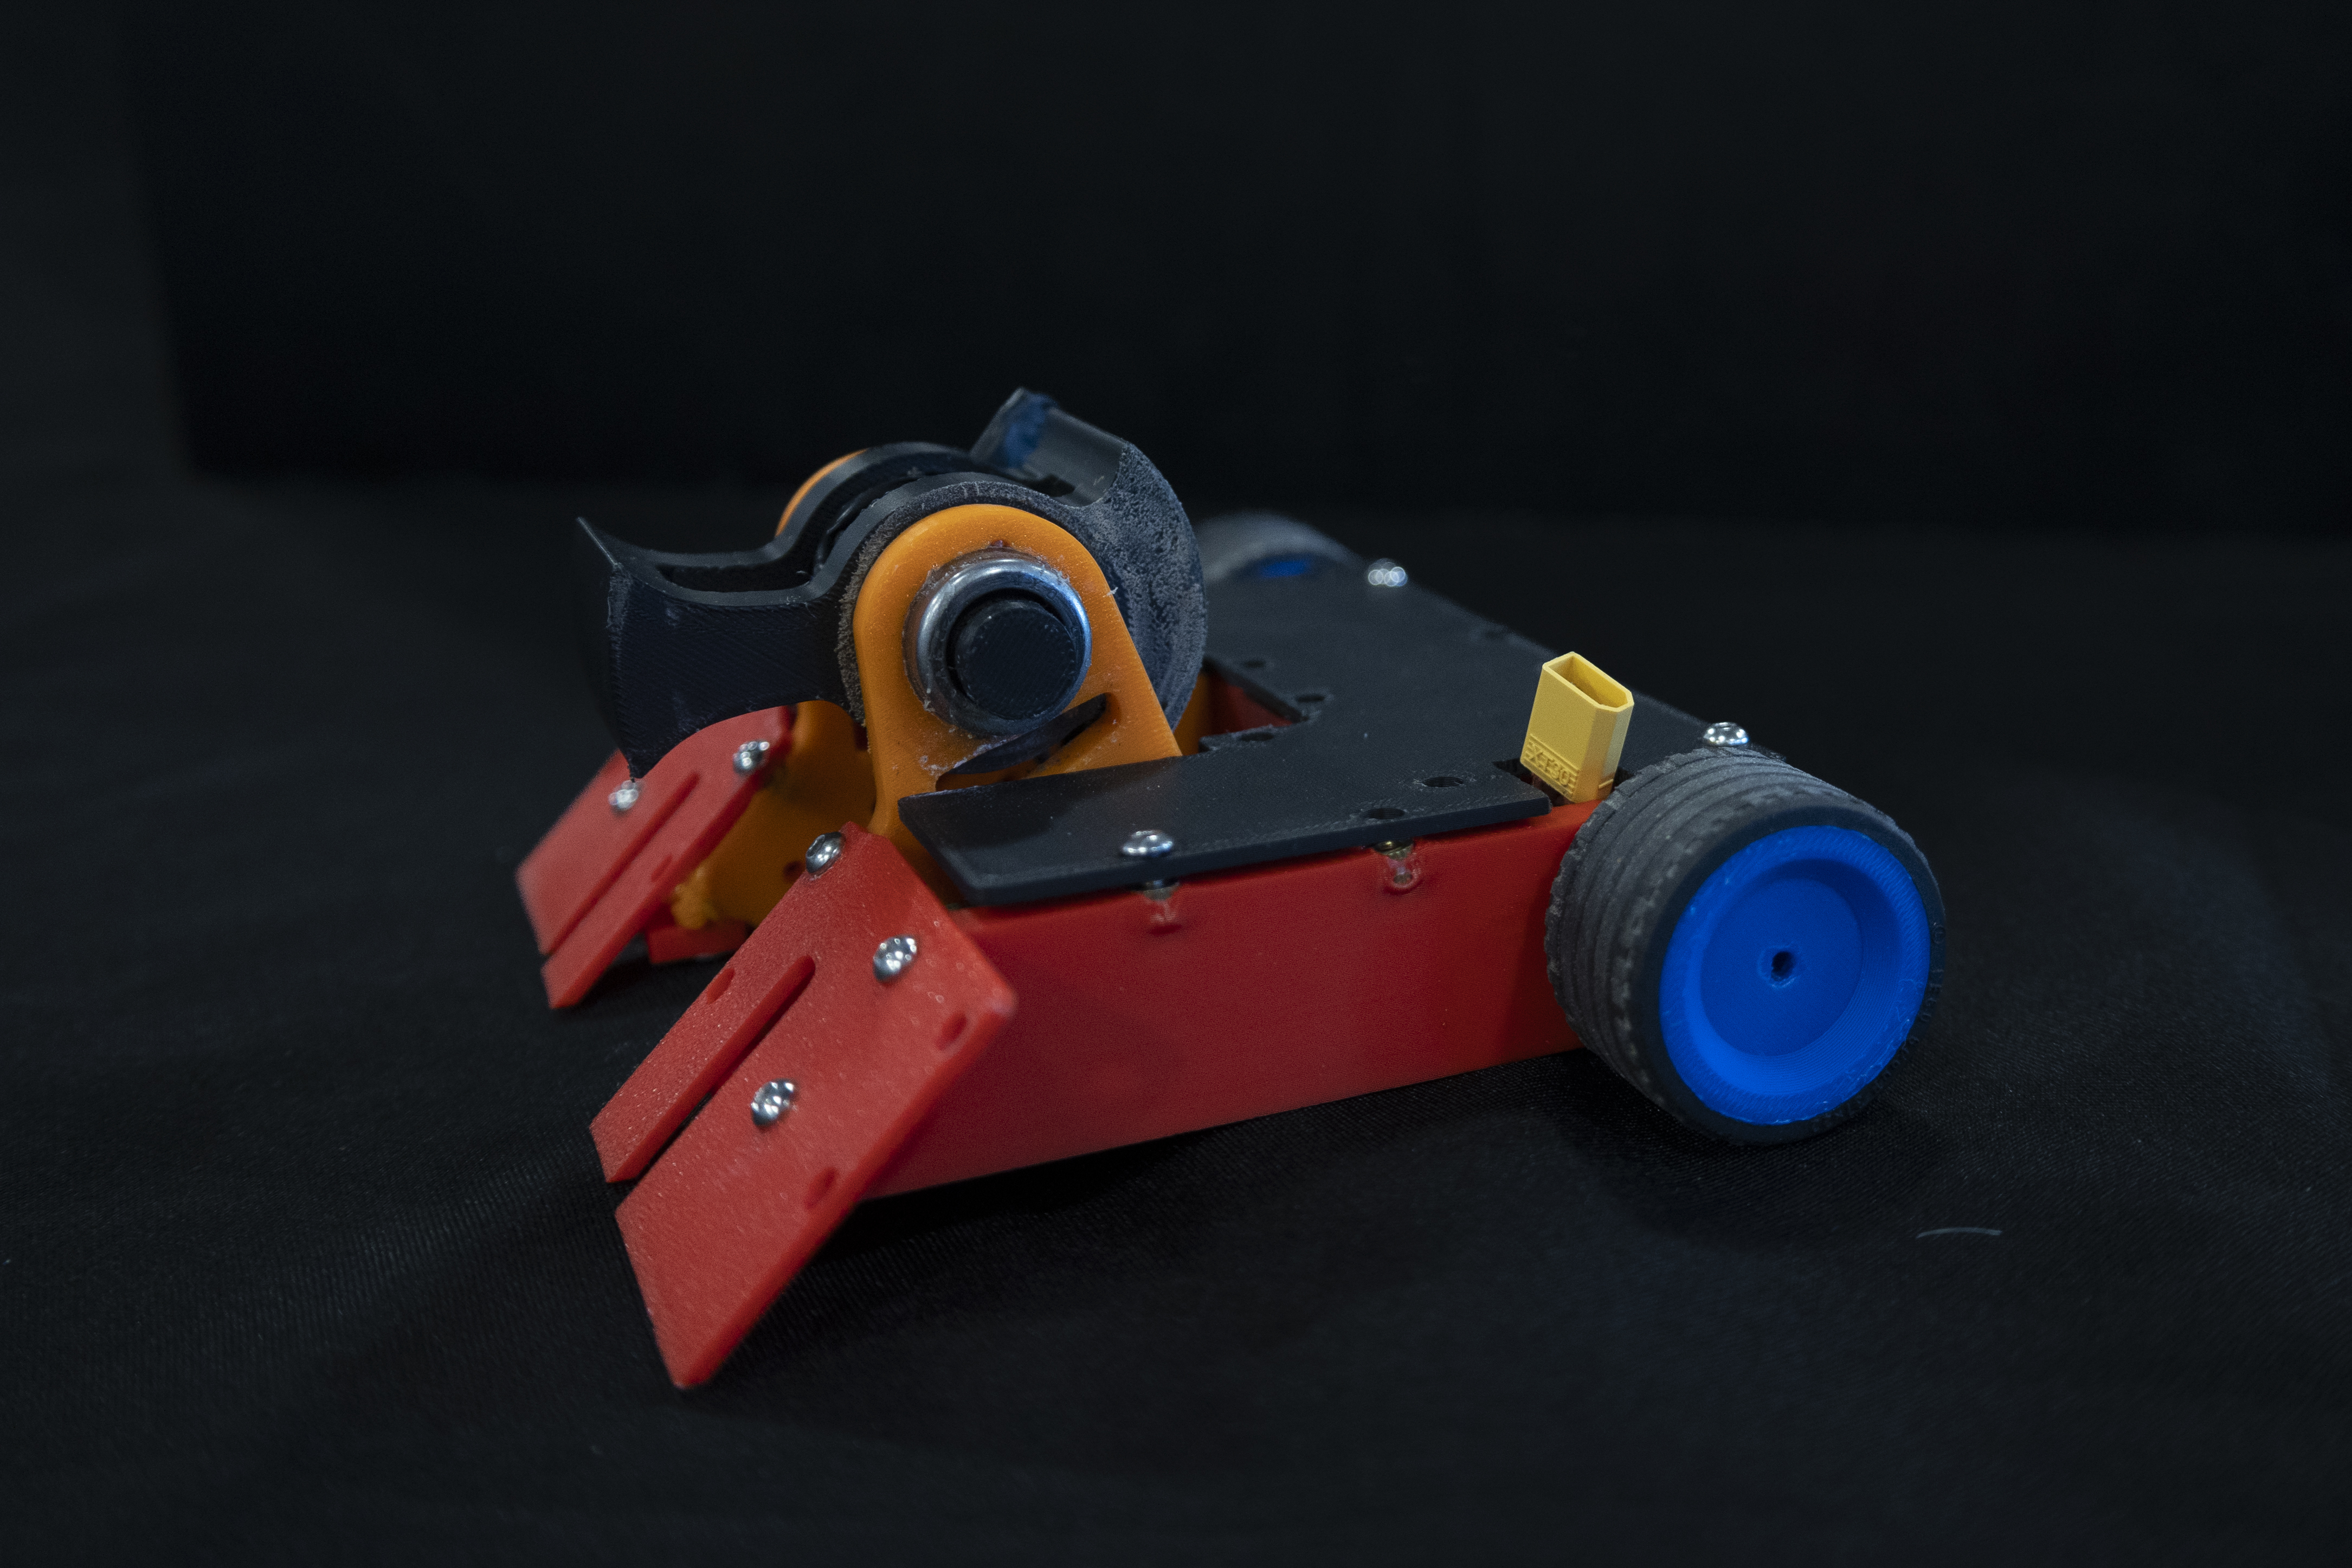
Wedge / Pusher
BEGINNERSimple armored bot that wins by getting under opponents and shoving them.
- Reliable and tough
- Excellent ground control
- Easy to drive and repair
Lifter
INTERMEDIATEForks or arms raise opponents to control position and neutralize weapon angles.
- Exposes weak spots
- Strategic control
- Anti-Spinner forks
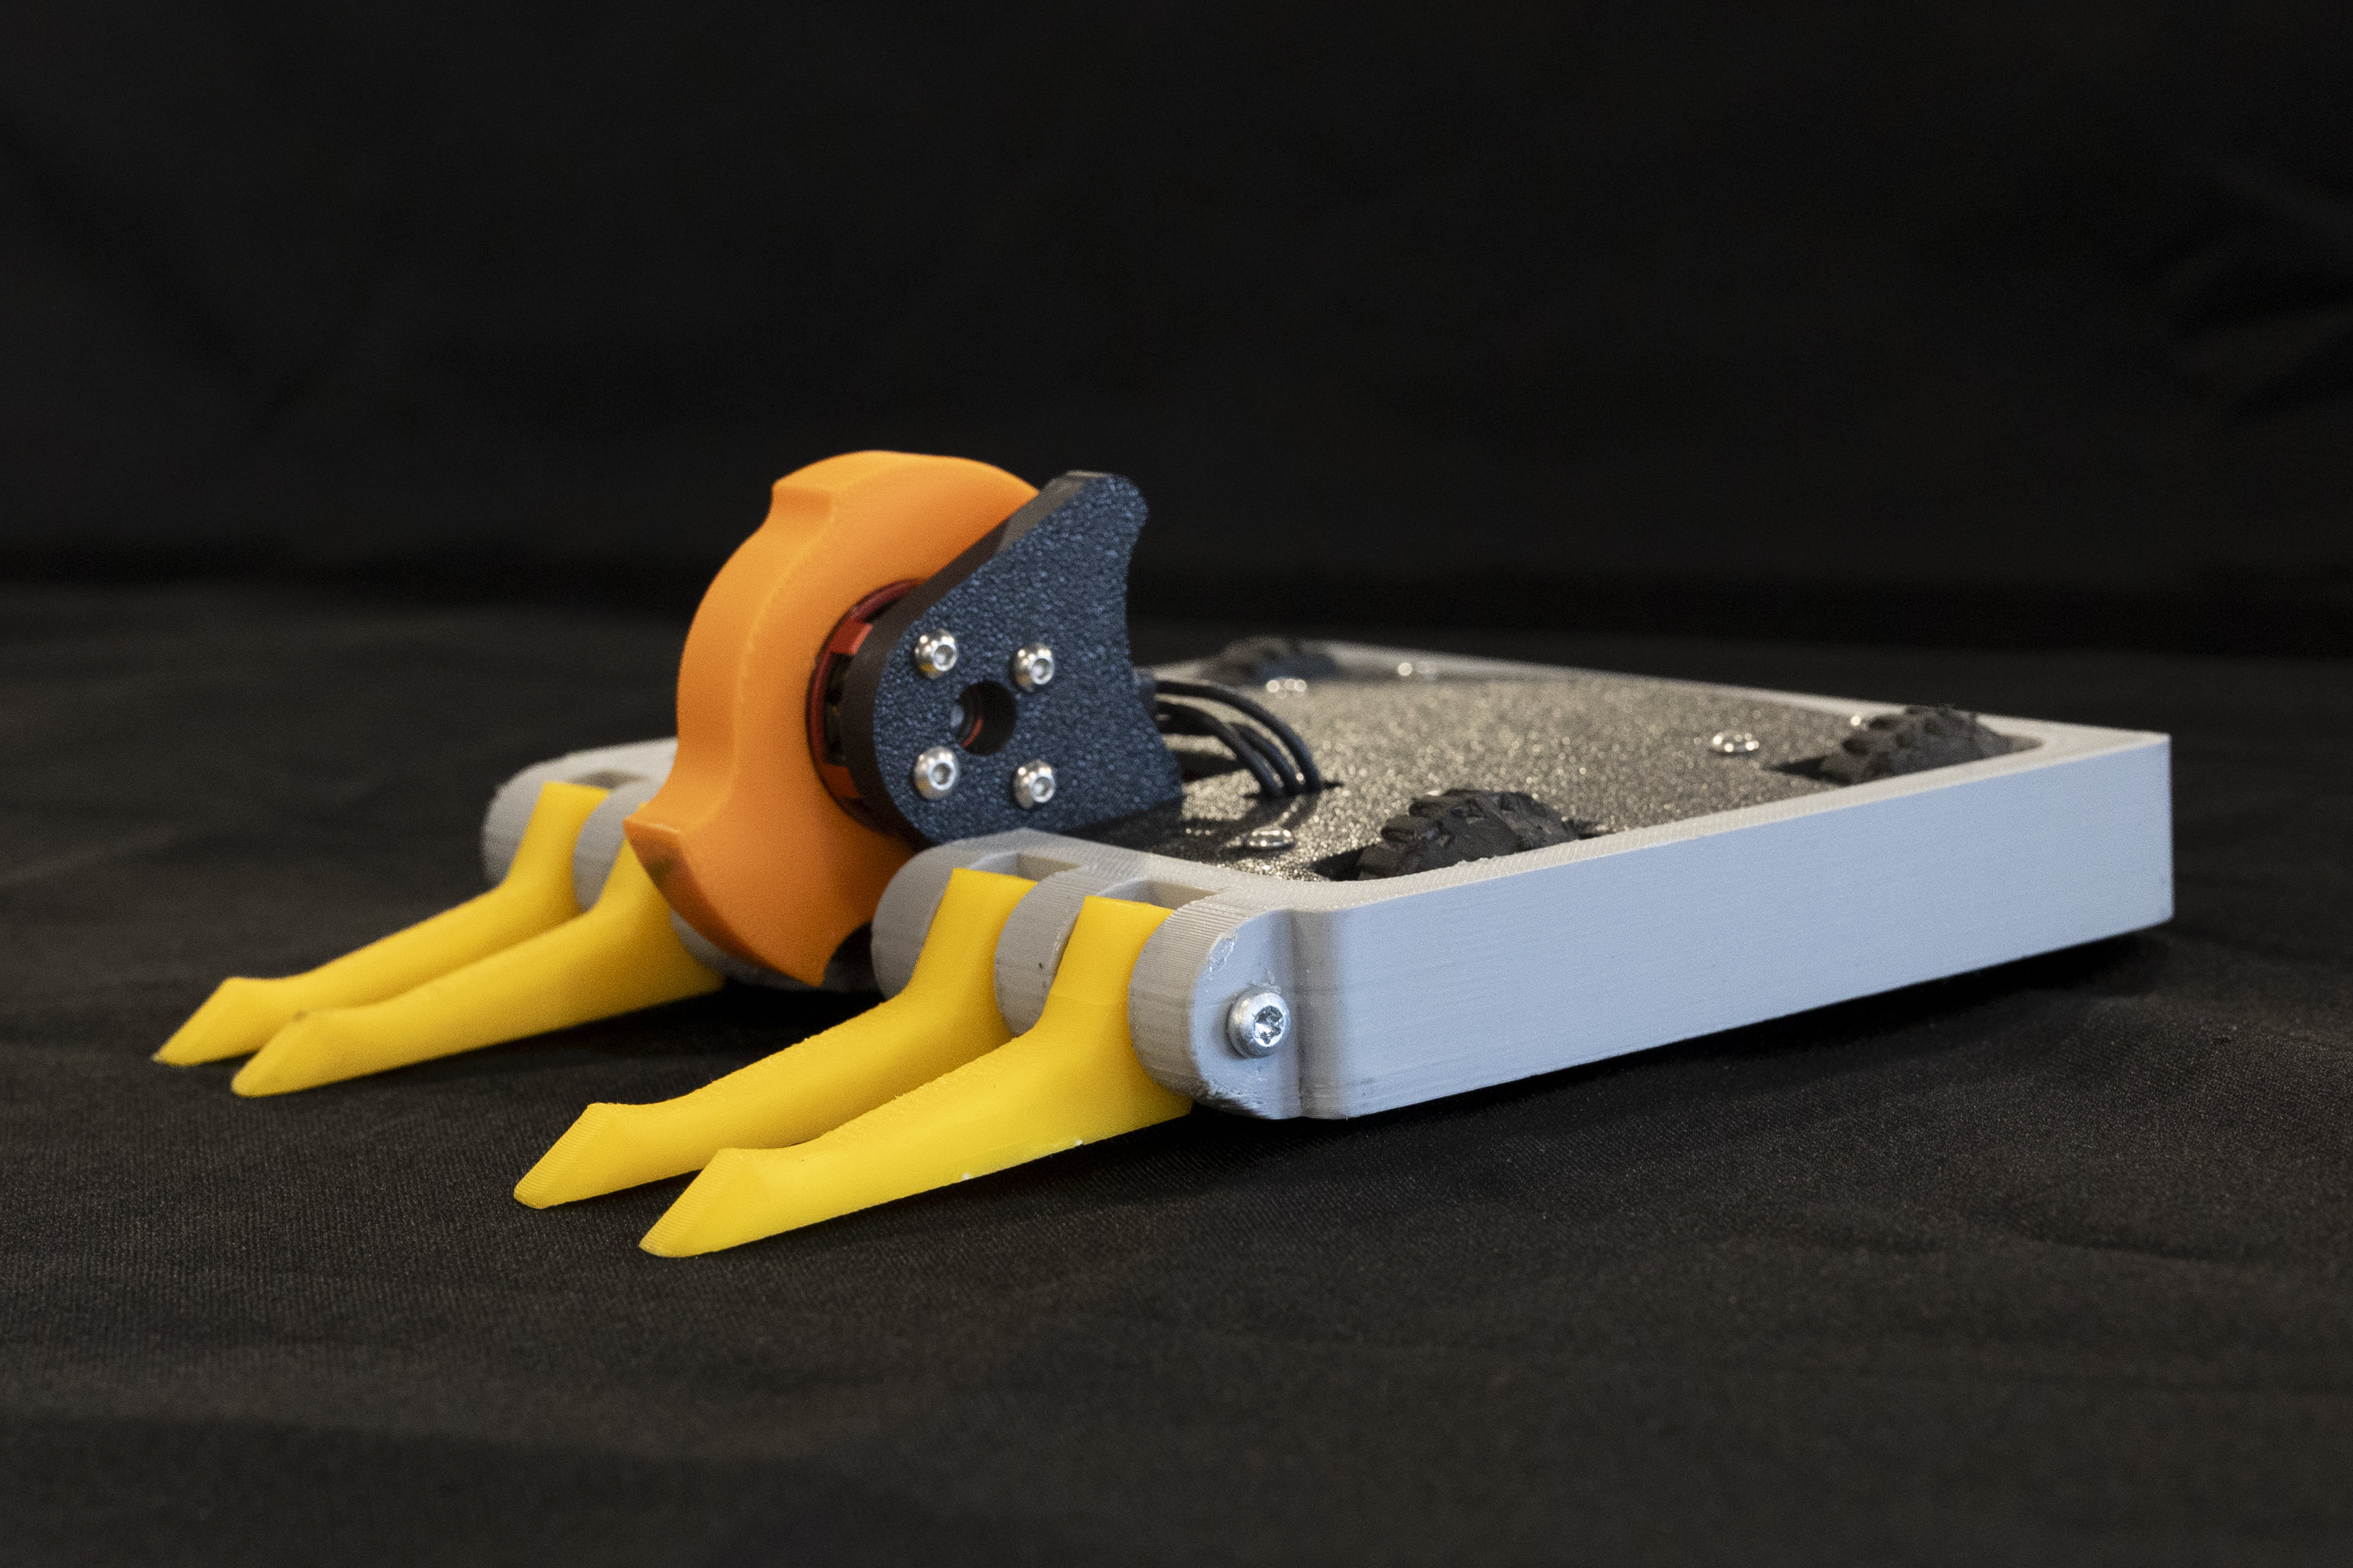
Grappler / Clamper
ADVANCEDGrabs and holds opponents to shut down weapons and control the pace.
- Controls match flow
- Denies weapon use
- Strong for judges' calls
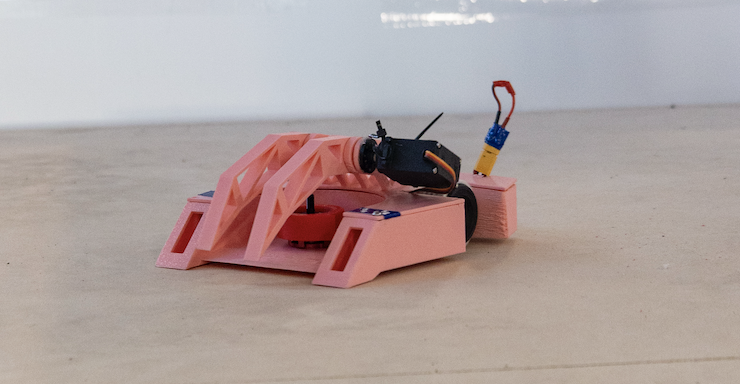
Hammer / Overhead Weapon
EXPERTAxes, hammers, or saws that strike from above to damage armor directly.
- Targeted precision hits
- Attacks weak top plates
- Combination of control and damage
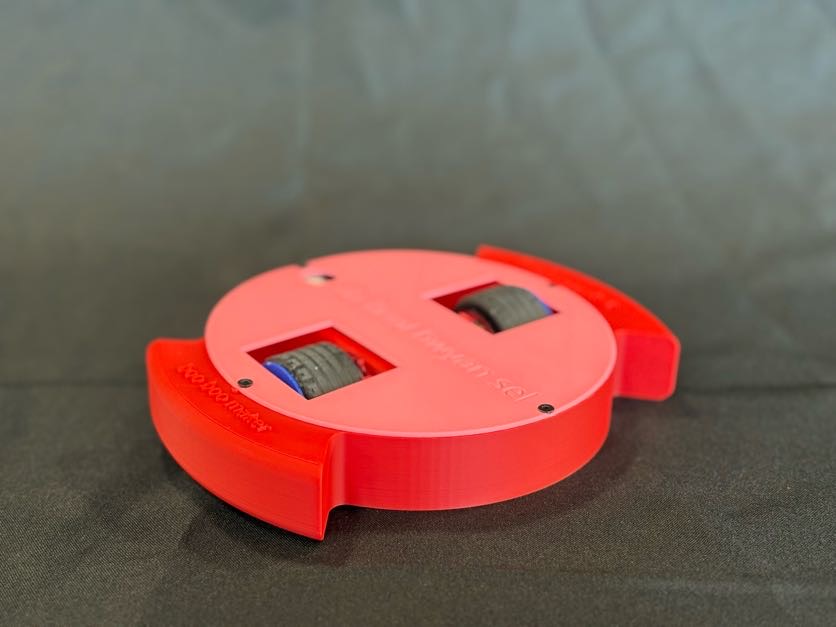
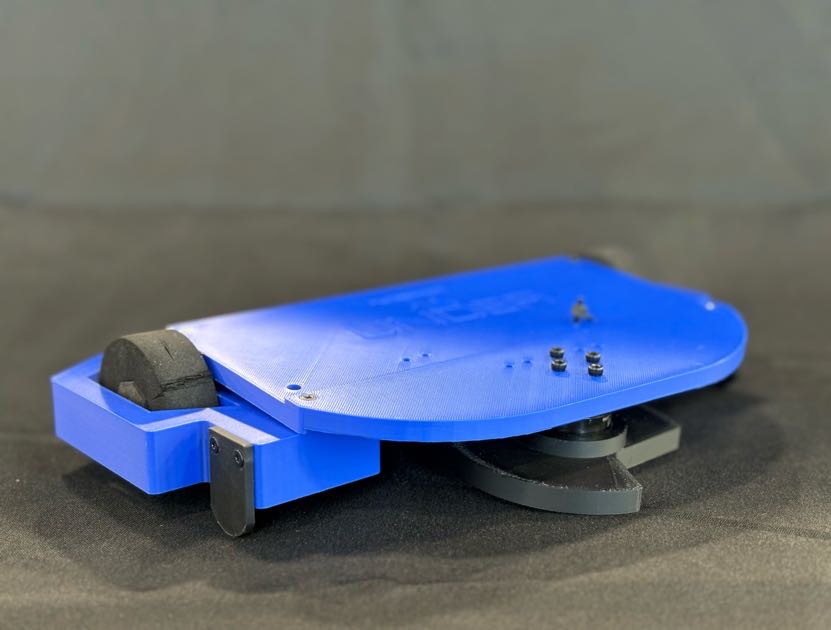
Full-Body Spinner
EXPERTThe entire outer shell spins, turning the whole robot into a weapon.
- 360° attack coverage
- Hard to approach safely
- High intimidation factor