Design something that survives contact.
Your first design decision is not the weapon. It’s how fast you can fix the robot between matches. Everything on this page bends toward that.
The design process
Define strategy
What do you want your bot to do? Attack, defend, or control?
Choose archetype
Pick a proven bot type that matches your strategy and skills.
CAD modeling
Design and iterate your robot in 3D before building anything.
Validate design
Check weight, printability, and assembly before printing parts.
Combat robot archetypes
Twelve proven bot types. The tag is design complexity — how hard the robot is to engineer and keep running — not a league division or a requirement. A beginner archetype in experienced hands is a podium threat.
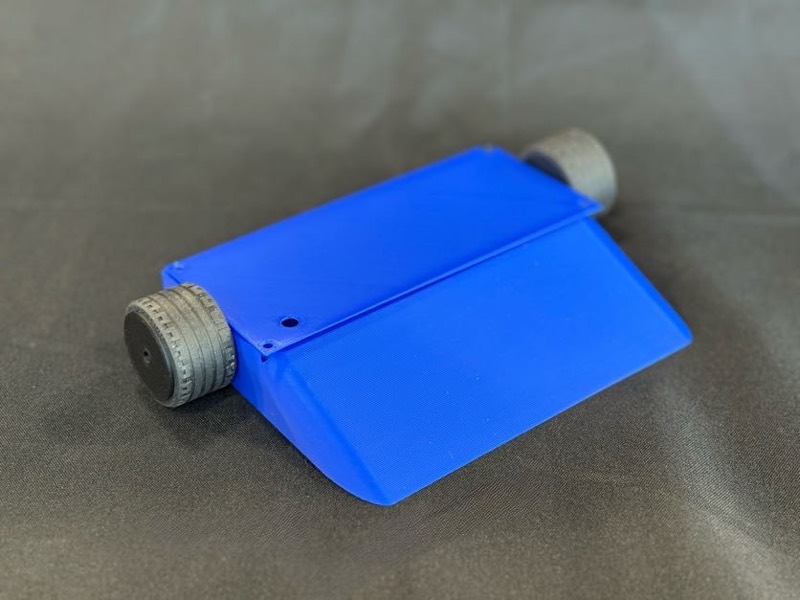
Wedge / Pusher
BeginnerSimple armored bot that wins by getting under opponents and shoving them.
- Reliable and tough
- Excellent ground control
- Easy to drive and repair
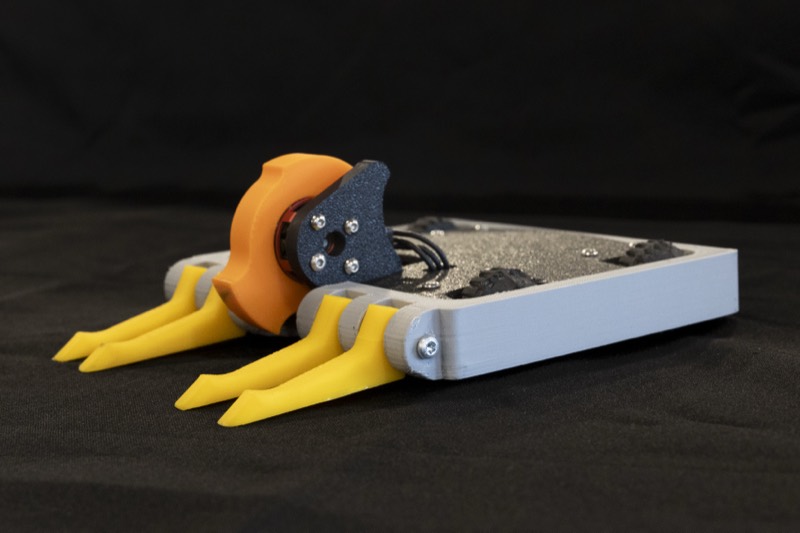
Vertical Spinner
BeginnerSimple vertical spinner using a disc or a straight bar to flip and damage opponents.
- Proven, straightforward design
- Easy to drive and control
- Good upward bite and toss
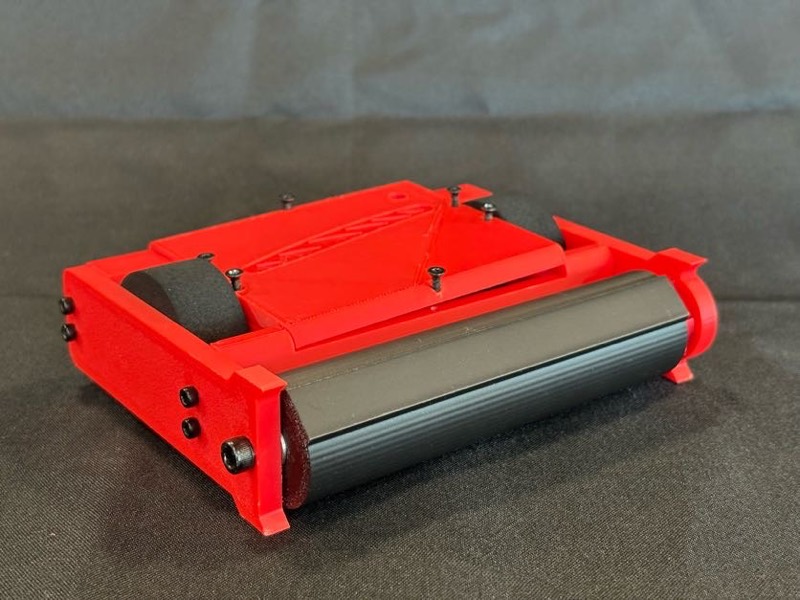
Drum Spinner
IntermediateA rotating drum with teeth that chews into opponents and launches them upward.
- More damage per hit
- Compact and efficient
- Great sustained pressure
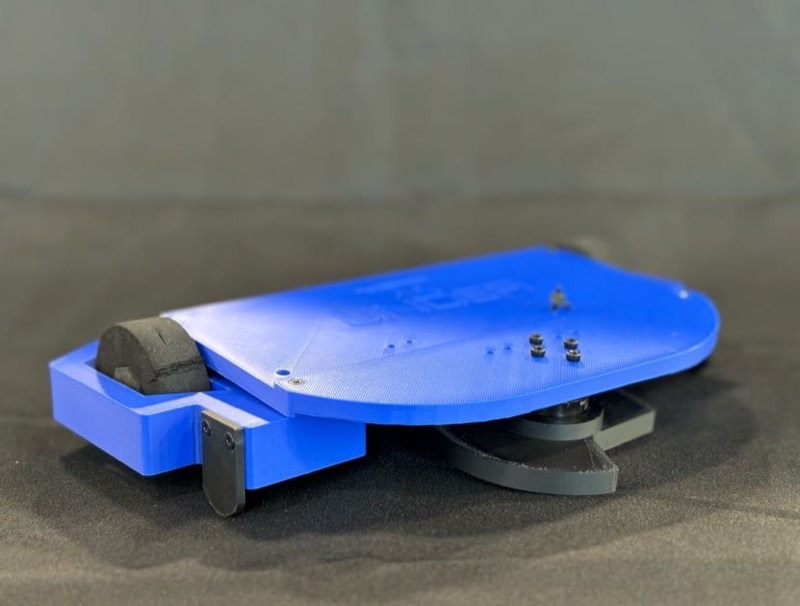
Undercutter
IntermediateLow-mounted horizontal spinner aimed at wheels and undersides.
- Targets the ground game and wheels
- Very low profile
- Difficult to reach
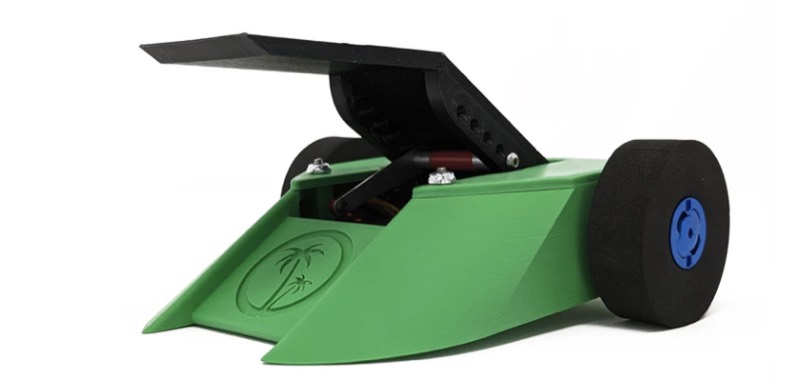
Lifter
IntermediateForks or arms raise opponents to control position and neutralize weapon angles.
- Exposes weak spots
- Strategic control
- Anti-spinner forks
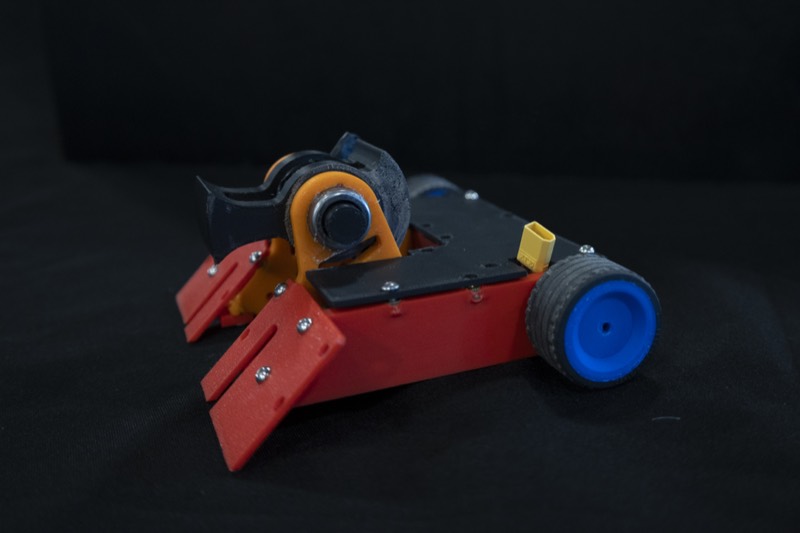
Beater Bar
AdvancedA lightweight vertical bar spinning at very high speed for massive single-point hits.
- Very energy-dense
- Precise balancing needed
- Challenging mounting
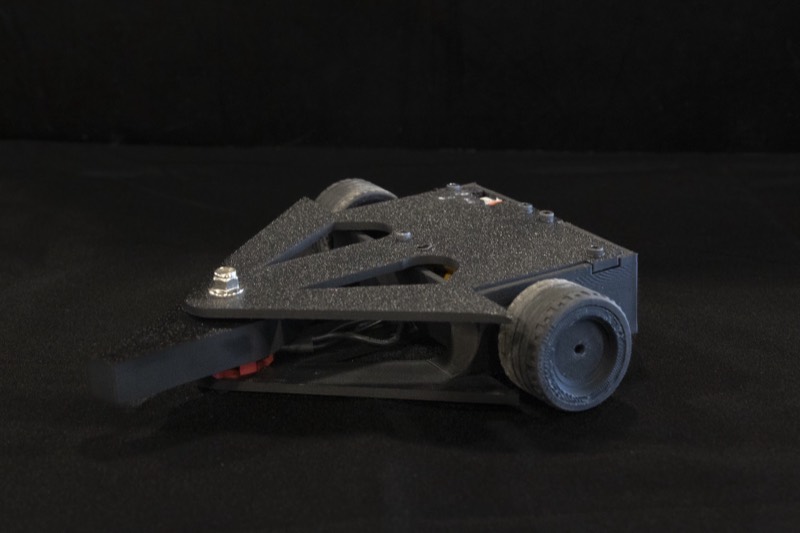
Horizontal Spinner
AdvancedA horizontal spinner for hard-hitting, chaotic attacks.
- Easy to learn, hard to master
- Devastating energy
- KO potential
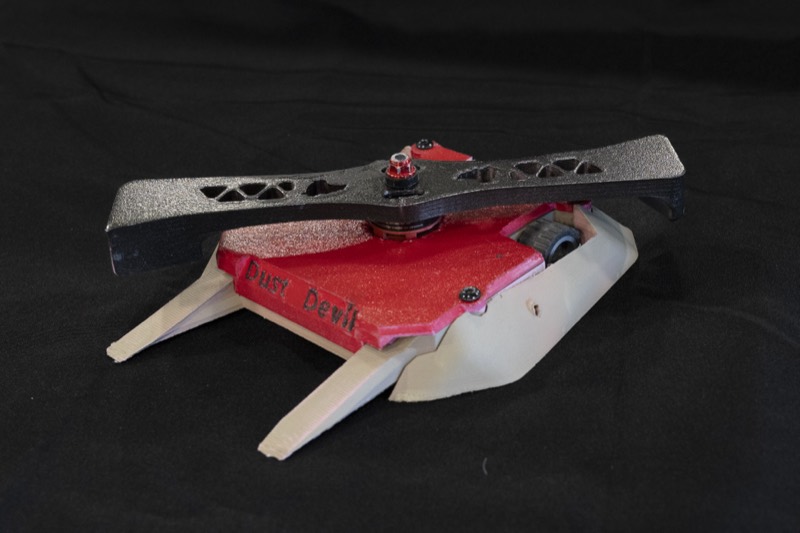
Overhead Spinner
AdvancedA horizontal weapon mounted above the chassis to strike top armor in a downward arc.
- Targets top panels
- Less floor interaction
- Pairs well with a ground game
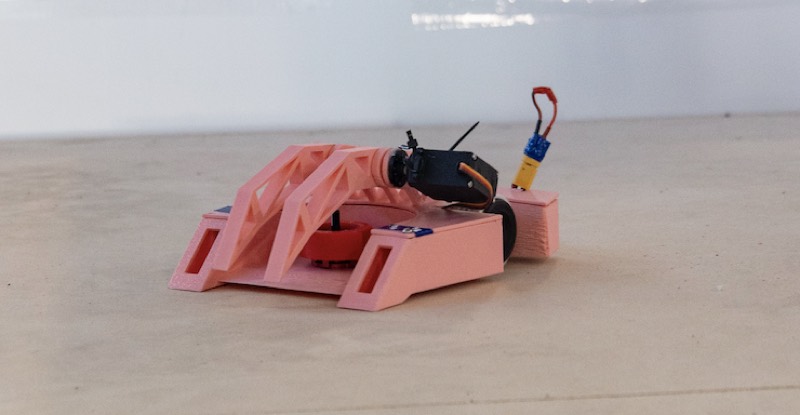
Grappler / Clamper
AdvancedGrabs and holds opponents to shut down weapons and control the pace.
- Controls match flow
- Denies weapon use
- Strong for judges’ calls
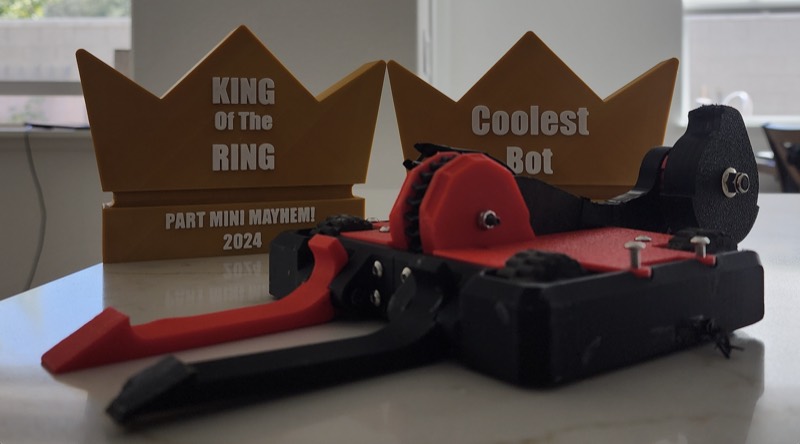
Hammer / Overhead Weapon
ExpertAxes, hammers, or saws that strike from above to damage armor directly.
- Targeted precision hits
- Attacks weak top plates
- Combines control and damage
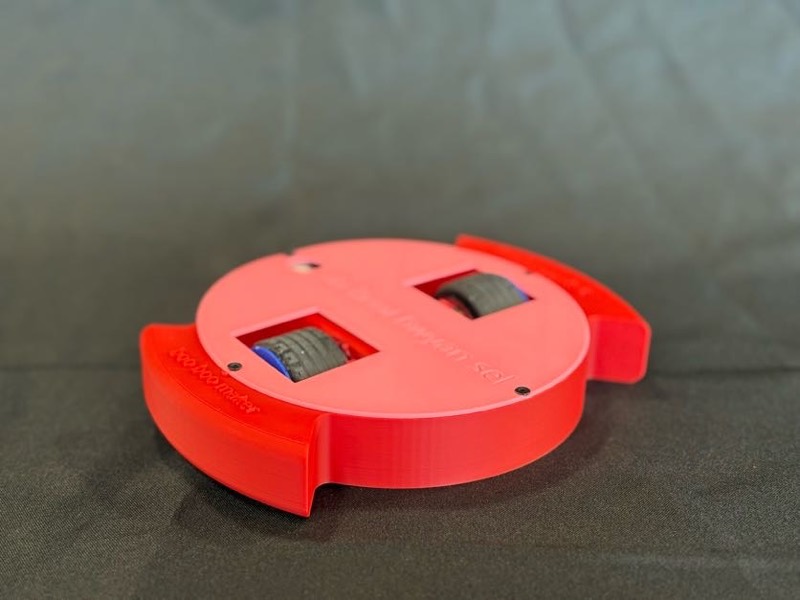
Full-Body Spinner
ExpertThe entire outer shell spins, turning the whole robot into a weapon.
- 360° attack coverage
- Hard to approach safely
- High intimidation factor
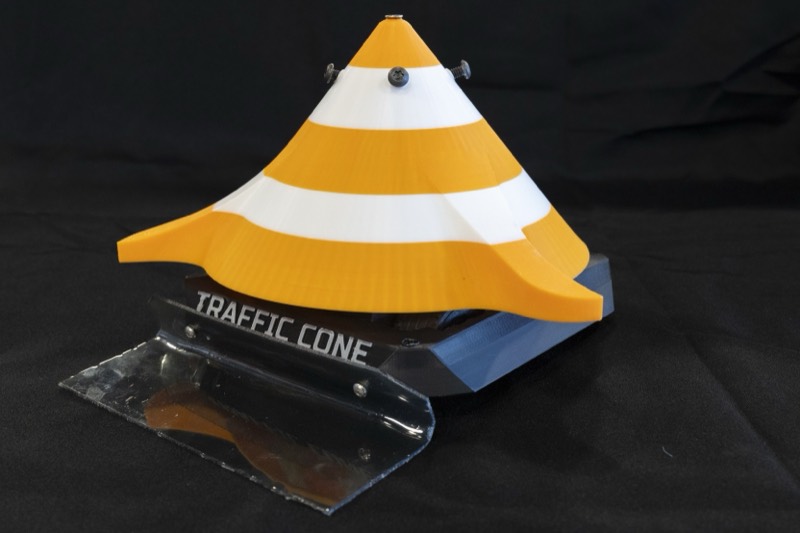
Meme / Fun Bot
ExpertA fun bot that wins the crowd.
- Explore unique, impractical designs
- Follow an intricate theme
- Have fun!
CAD tools (free for students)
- Onshape: browser-based, free education accounts, nothing to install, works on a Chromebook. Our default recommendation.
- Fusion 360: free personal/education license, richer toolset, needs a real computer.
- Tinkercad: genuinely fine for a first wedge. Do not let anyone gatekeep you out of starting here.
Essential design principles
Weight distribution
Keep the center of mass low and central for stability. Heavy components like batteries and motors mount as low as possible in the chassis.
Design for 3D printing
Avoid overhangs greater than 45°, use appropriate wall thickness, and choose print orientation for strength (see the printing guide for the proven profiles).
Serviceability first
Design for quick repairs between matches: removable panels, accessible fasteners, and modular components that swap easily.
Safety integration
Include weapon safety from the start. Weapon locks, a safe power switch, and secure battery mounting are core requirements, not afterthoughts.
Material efficiency
Optimize for the 1 lb limit with hollow sections, removed material, and the right plastic thickness for each component.
Drive system layout
Plan the drive early: gear ratios, motor mounting, wheel placement, and how drive components integrate with the weapon system.
Design-for-repair
- Modules, not monoliths. If a wheel mount breaks, you should replace a wheel mount, not reprint the chassis.
- Heat-set inserts beat screwing into bare plastic; the fifth disassembly is when you find out why.
- The battery is cargo: fully enclosed, no strike exposure, no screws protruding into its bay. That’s a rules requirement and a fire policy.
- Print orientation is armor: layer lines perpendicular to expected hits, or the first big impact delaminates the part.
Reference designs
A curated library of downloadable reference CAD is not available yet — it will be announced when files are actually posted. Until then, adapting a proven public design is encouraged: compare any reference against the current construction rules and adapt it for your own components.